1. Protect valuable landscaping.
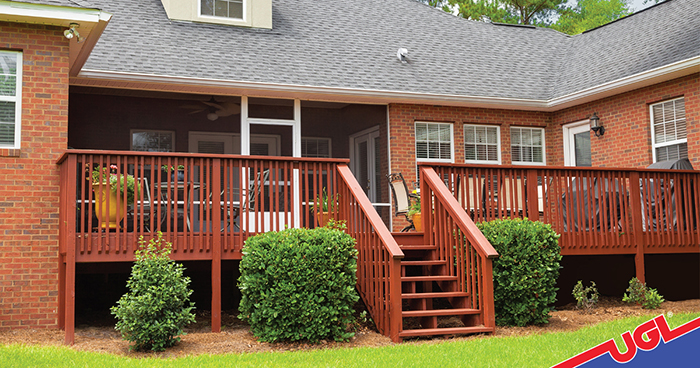
Shrubbery, flowers and other plants near or under your deck can be damaged by cleaners, sealer and stain. Always remember to cover them. In hot weather, try using an old sheet to avoid overheating the foliage. In addition, watering thoroughly prior to starting your project will minimize absorption of any runoff.
2. Don’t be a drip.
If there’s another surface below your deck, like patio pavers or a concrete pad for a walk-out basement or lower level, don’t forget to throw down drop cloths to catch any drips from above.
3. Protect your family’s health.
If you’re refinishing a deck painted prior to 1978, the paint might contain lead. If the deck was built before 2004, there’s a good chance the lumber was pressure-treated with Chromated Copper Arsenate (CCA), a chemical preservative containing arsenic, chromium and copper. Prior to power washing, sanding or scraping, all of which can release particulates into the air, ask a local building professional to help you assess the situation so you can take the proper precautions.
4. Don’t forget to clean between the cracks.
For regular maintenance, use a leaf blower or a broom to remove any loose debris. If there’s gunk between the deck boards, use a putty knife to get down in there and carefully dislodge it. The crevice tool on your shop vacuum, if you have one, can often coax out stubborn leaves, weeds, feathers, pine needles and more.
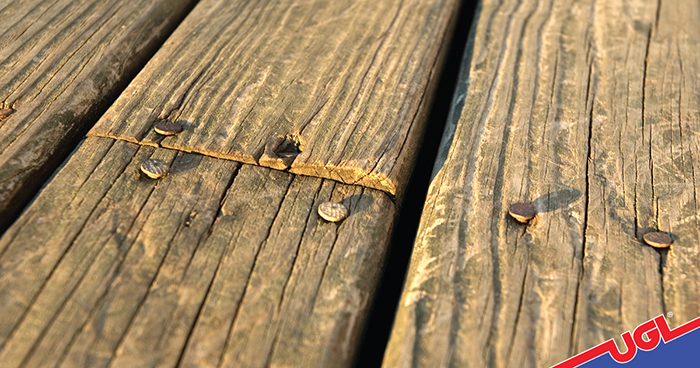
5. Fix nail pops in a flash.
Check your deck for nail heads that have worked themselves loose. Lay a thin piece of metal (like a ruler) or a block of wood over the nail. When you hammer it down, the force will dissipate and help ensure you don’t leave hammer-head-shaped dents in the wood.
6. Try screws instead of nails.
Whether you’re building a deck from scratch or attempting to rehab an existing one, choose deck screws as a fastener. Use a rechargeable drill to set the screws as quickly, or faster, than you could hammer a nail! To avoid future rust stains and keep your deck looking pristine, select galvanized, stainless steel or coated screws.
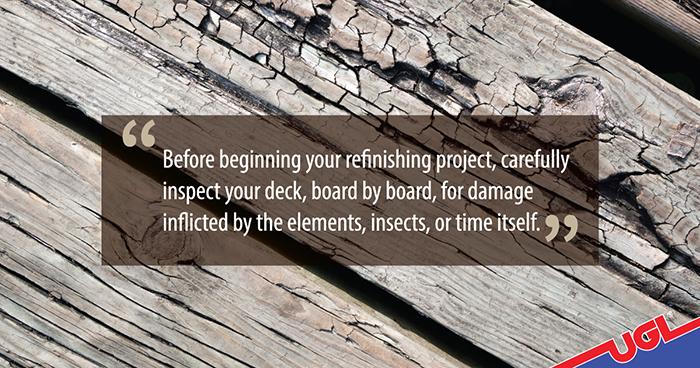
7. Inspect for pests or damage…
Whether you’re performing annual maintenance and cleaning, or getting ready to undertake a major refinishing project, it’s always a good idea to carefully inspect your deck, board by board, for damage inflicted by the elements, insects, or time itself. Grab a flashlight or a cap with a light on the brim to see more clearly in shadowed areas. As structural integrity is critical, don’t hesitate to replace any wood that has eroded, rotted or decayed.
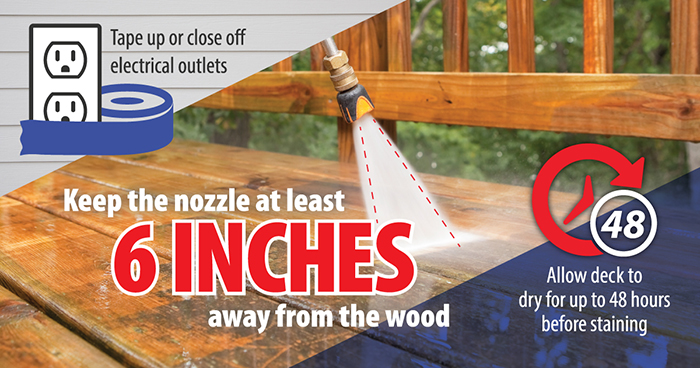
8. Power wash with care.
The more direct and aggressive the spray, the greater the chance it’ll strip away the lignin in the wood, raise the grain in the lumber and add one more chore to your list – sanding down those raised areas. Use a spray tip to fan out the stream of water and keep the nozzle at least 6 inches away from the wood. Additionally, you’ll want to close off or tape up any exterior electrical outlets. After a good wash, allow your deck to dry for at least a day or two – depending on drying conditions – before applying sealer or stain.
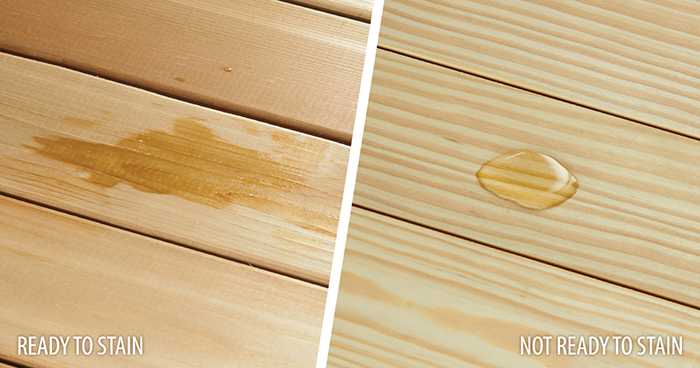
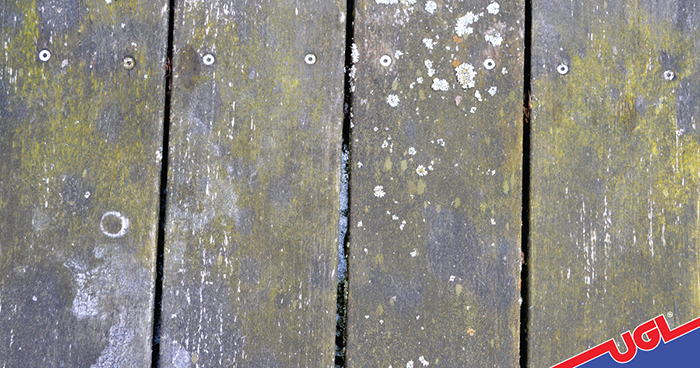
9. Determine if your deck was previously stained or sealed.
It’s easy! Sprinkle a few drops of water on the horizontal surface and see if they bead up. If the water is absorbed by the wood, there’s probably no surface treatment. If it beads, the deck has been previously treated and you’ll want to remove old sealer, and any remaining remnants of original mill scale (wood pulp that was crushed up against the grain of the lumber) or mill glaze (a film that develops on milled lumber during production).
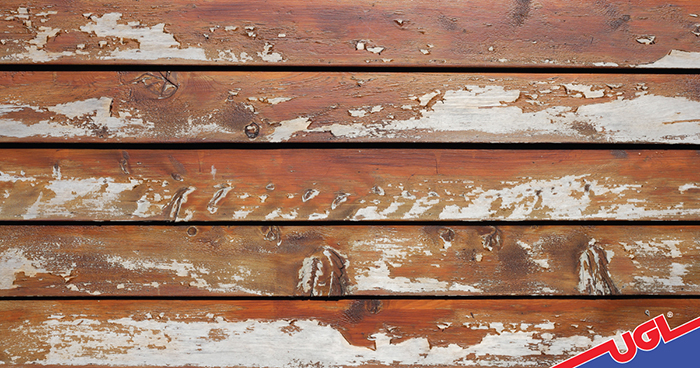
10. Remove previous surface treatments.
If your deck was originally finished with paint or a semi-transparent stain, you’ll need to remove the old finish before applying a new one. Scrape off any raised or buckled areas, but don’t worry about getting every speck. After a good scrape, you can use a quality stripping product to get the rest or skip the stripper and go right into application. Just be sure to use a color similar to the original (ZAR® offers semi-transparent stains in numerous shades) or choose an opaque option like ZAR® self-priming, solid color stain.
11. Apply paint stripper to small sections at a time.
If your deck was previously finished, consider using a stripping agent like UGL’s ZAR® Wood Stripper. After following the application directions, you’ll need to scrape the old finish off your deck while it’s still soft and semi-liquid. Schedule this activity for a cool day to keep the sun’s heat from drying out the stripper. To make removal easier, work with small areas at a time, keeping everything well within reach.
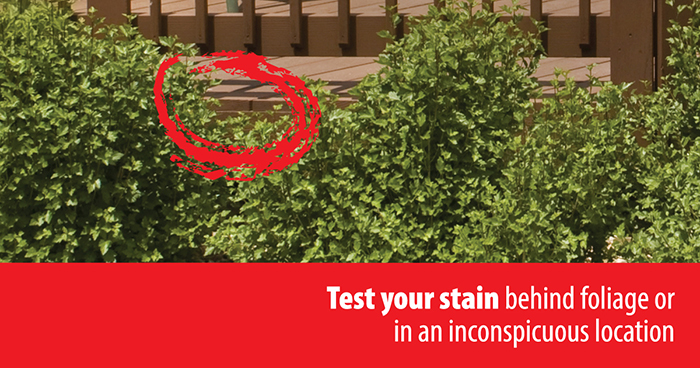
12. Test, test and test again.
As the finished product will be a combination of the stain itself and how it interacts with the properties of the wood in your deck (the texture, the grain, the age of the wood, etc.), always test the stain in an inconspicuous area. Refrain from testing it on a paint stirrer or other random piece of wood.