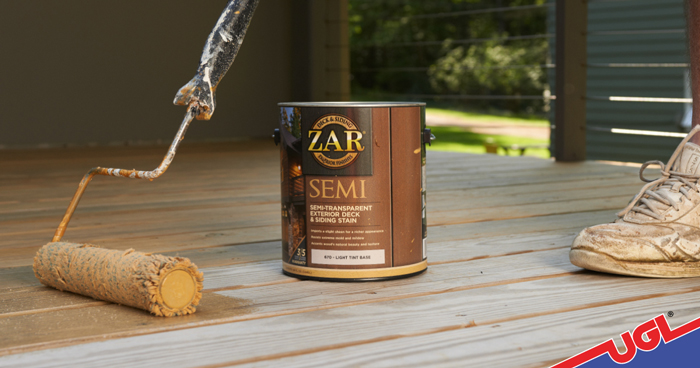
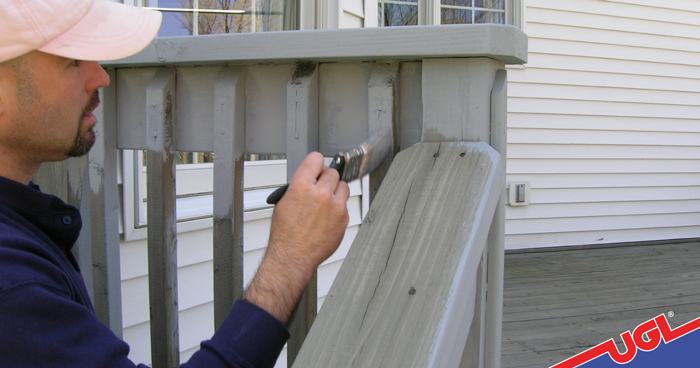
1. Select the best tool for the job.
If the surface of your deck is flat enough, use a 9‑inch roller on an extension handle to apply stain or sealer, and a 3‑inch brush to fill in nooks and crannies and finish the edges. For the railings, choose a 2‑inch brush and for the balusters, pick an angled trim brush that matches their width. If the surface has buckled over time and is uneven, skip the roller and use a 3‑inch brush to really work the stain into the pores of the wood. Prefer to spray your way to success? When you’re finished, use a 3‑inch brush to even out any excess puddling on cupped boards.
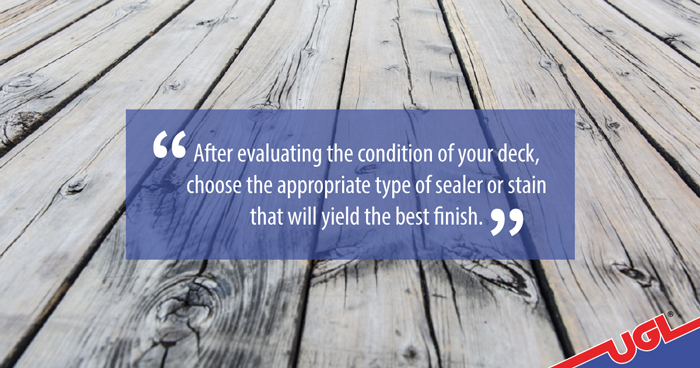
2. Pick a treatment based on the condition of your deck.
Various products yield different results, each of which can add beauty and durability in its own way. To accent the natural beauty and definition of wood that’s in great condition, choose ZAR® Clear Wood Sealer & Natural Toner Base. ZAR® Semi-Transparent Deck & Siding Stain hides subtle imperfections while still allowing the grain to show through. Use ZAR® Solid Color Deck & Siding Stain to preserve the visual appearance of wood grain while masking obvious defects. If your deck is older, one of our 30 solid colors may be the best choice. If the surface is really damaged, consider using ZAR® NuDeck® Wood and Concrete Restorative Coating to lock down splinters and create a beautiful, mildew-resistant, non-slip finish.
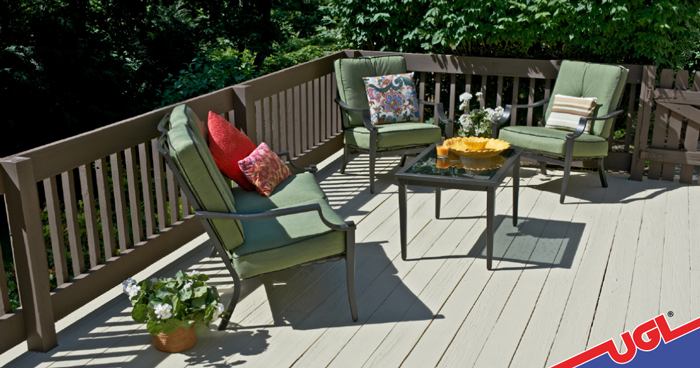
3. Mix stain types and colors for a unique decorative appearance.
Once you decide which products best suit the condition of the wood, it’s time to get creative! Treat rails, balusters and the decking itself in different ways with different products. Use your imagination to mix finishes and colors to make the final appearance an original work of art. How about ZAR® Semi-Transparent Deck & Siding Stain on the flooring with solid stained balusters and a semi-transparent railing? Consider using ZAR® Solid Color Deck & Siding Stain in a couple complementary tints. If the horizontal areas of the deck are more worn than the vertical boards, you could use ZAR® Clear Wood Sealer & Natural Toner Base on the verticals, and a solid stain or ZAR® NuDeck® Wood and Concrete Restorative Coating to cover the flooring.

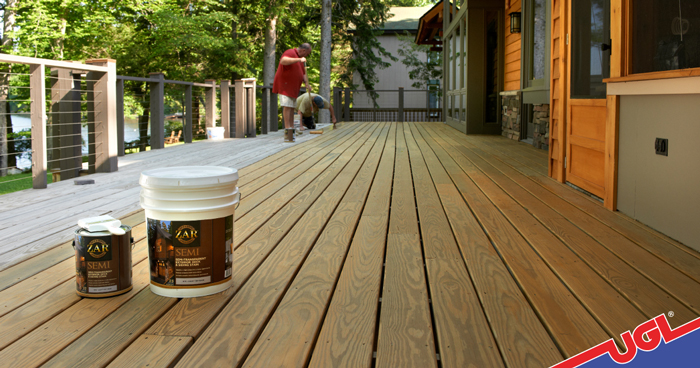
4. Figure out how much product you need.
Who wants to run low on stain right in the middle of all the fun? To ensure you have plenty of product on hand, use this formula to calculate the size of the surface area. Surface length in feet X surface width in feet = total square footage. Check the label to see how many square feet the product will cover and make your purchase accordingly. It’s always a good idea to keep a little extra on hand for the future, just in case you happen to notice a spot you missed.
5. To make sure your stain cures as perfectly as possible, check the forecast.
Schedule your project for a day when the temperature will remain between 50 – 90ºF with low humidity. Also, avoid applying stain in direct sunlight or on a windy day. You don’t want a gusty breeze depositing leaves and debris on your freshly treated surface. Apply sealer or stain when there’s no rain in the forecast for a minimum of 24 hours, at which point you can begin decorating. Get out the grill, arrange furniture, accent with planters and more!
6. Make a large project more manageable.
Instead of considering the entire deck as “one big project”, break it down into a series of smaller undertakings. Consider the balusters as one project, the stairs as another one and so on. This is a super way to divvy up tasks for family and friends.
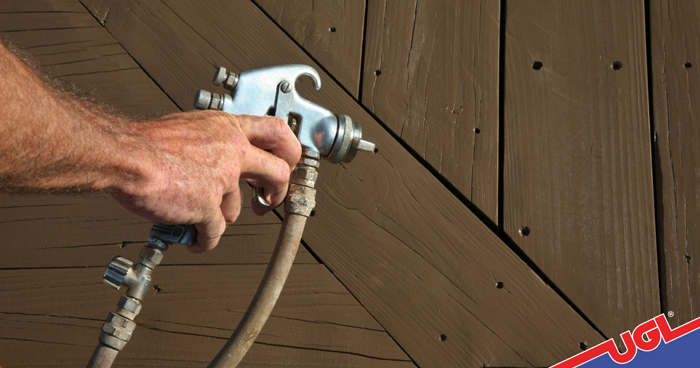
7. Applying sealer or stain with a sprayer?
Sometimes excess mist goes airborne and lands on whatever it hits first. When you’re spraying, be sure nearby walls and windows are protected. Inexpensive rolls of kraft paper, plastic tablecloths, paper grocery bags or large pieces of cardboard will do the trick. Cover pipes, light fixtures and wiring – anything you prefer to keep in its original state. Most importantly, carefully read the instructions on both the sprayer equipment and the deck treatment and wear proper respiratory protection.
8. Keep your sprayer clog-free.
This is important: always load your sprayer with stain straight from the original can. Resist the temptation to fill it with stain from a roller tray or other container that has a little leftover stain in it. Fine particles of dirt can clog your equipment, resulting in uneven application and potential equipment failure.
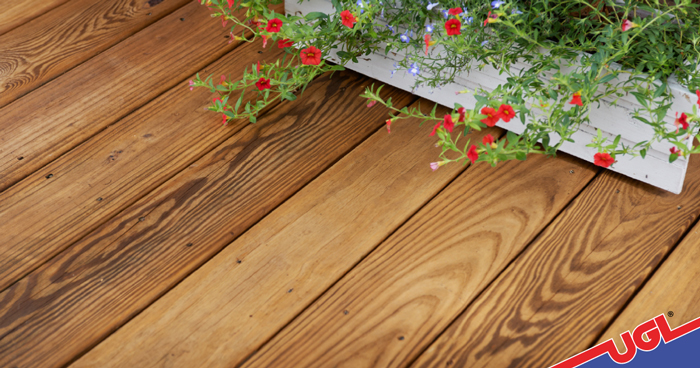
9. Reveal the texture of the wood grain.
For the most natural and beautiful appearance, always apply stain in the direction of the wood grain. On the ends of the boards, areas where water can easily penetrate the wood, use a paintbrush to generously coat the exposed fibers. When you’re satisfied with the coverage, be sure to wipe away any excess product that might have dripped down to the bottom of the board.
10. Refrain from applying too many coats.
If you want to repeat a coat of stain or sealer, be sure to do it while the first coat is still damp. Otherwise, the sealer will do exactly what it’s designed to do…seal out the repeat coat. And while it feels good to keep adding extra coats, thinking you’re adding extra protection, over-application can prevent the moisture in the wood from escaping and actually contribute to peeling.