
A beautiful wood finish can completely transform a woodworking project, whether you’re refinishing furniture, building cabinets, or creating a custom table. However, even experienced DIYers can run into problems if they skip important steps or use the wrong techniques.
The good news is that most staining mistakes are easy to avoid with a little preparation and the right approach. Understanding how wood stains work and what causes common finishing problems will help you achieve a rich, even, professional-looking finish every time.

Skipping Surface Preparation
One of the biggest mistakes people make when staining wood is rushing straight to the stain without properly preparing the surface. Dust, scratches, glue residue, or rough sanding marks can all become much more noticeable once stain is applied.
Start by sanding the wood evenly, working through progressively finer grits until the surface is smooth. Remove all sanding dust with a vacuum or tack cloth before applying stain. Even small amounts of dust can affect how evenly the stain absorbs.
If you’re working with softwoods like pine, spruce, or fir, using a wood conditioner before staining can help reduce uneven absorption and create a more consistent color.
Applying Too Much Stain
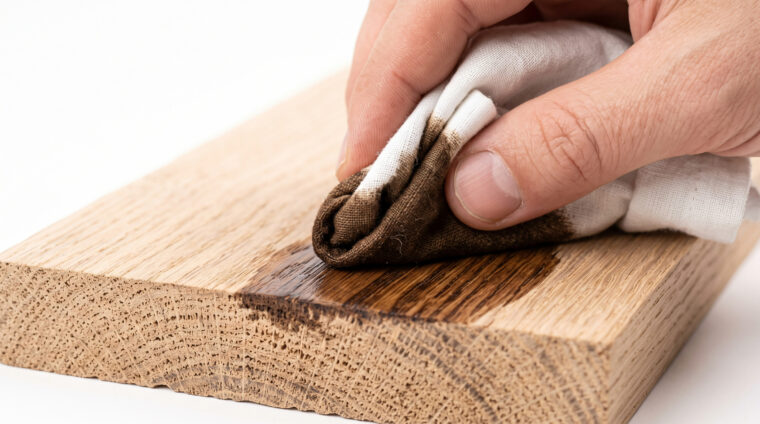
Many people assume that applying a thick coat of stain will create a richer color. In reality, wood stain is designed to soak into the wood rather than sit on the surface.
Applying too much stain can leave sticky areas, uneven coloring, or longer drying times. Instead, apply a thin, even coat and wipe away any excess after allowing it to penetrate for the time recommended by the manufacturer.
Remember that stain adds color, but it doesn’t build a protective finish. A clear topcoat is needed after the stain has dried.
Should You Use a Rag or a Brush?
One of the most common questions is whether it’s better to stain wood with a rag or a brush. The answer depends on the project and the type of stain you’re using.
A brush works well for applying stain to detailed surfaces, carved areas, moldings, or large projects where you want to quickly spread the stain over the wood. Brushes help work the stain into corners and grain patterns that may be difficult to reach with a cloth.
A clean, lint-free rag is often preferred for wiping stain because it helps control the amount of stain left on the wood. Many woodworkers actually use both methods — applying the stain with a brush and then wiping away the excess with a rag. This combination often produces the most even results.
Does More Stain Mean a Darker Color?
More Stain when it comes to ZAR® Oil Based Stain does create a deeper color. This does depend on the color and wood species. However, you don’t want to overapply.
In most cases, the wood can only absorb so much stain. After the first and second coats, additional coats often have only a minor effect on the color because the pores are already filled. Instead of producing a dramatically darker finish, extra coats may simply sit on the surface and create drying issues.
If you want a much darker appearance, it’s usually better to choose a darker stain color rather than relying on multiple coats.
Can You Stain Over Existing Stain?
Yes, you can stain over already stained wood, but the results depend on the condition of the existing finish.
If the wood has only stain and no protective topcoat, another coat of stain may deepen or slightly alter the color. However, if the surface has been sealed with polyurethane, lacquer, shellac, or another clear finish, the new stain cannot penetrate the wood.
In that case, you’ll need to remove or thoroughly sand the protective finish before restaining. Testing the stain on a hidden area first is always a smart idea, especially when refinishing older furniture.
How to Get a Smooth, Professional Finish
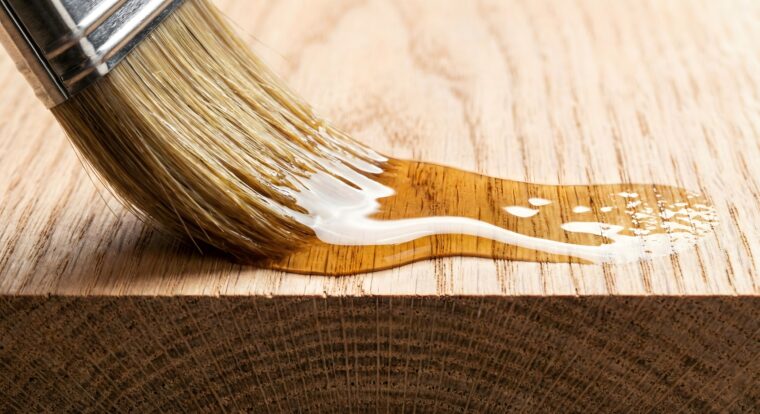
A smooth finish starts long before the stain is applied. Proper sanding creates an even surface that accepts stain consistently and helps eliminate visible scratches.
After staining, allow the wood to dry completely before applying your protective finish. Lightly sanding between coats of your clear finish with very fine sandpaper can help remove dust nibs and create a silky-smooth surface.
Working in a clean, dust-free area also makes a noticeable difference. Dust particles floating through the air can settle into wet finishes and create a rough texture.
Why Does Wood Become Blotchy?
Blotchy staining is one of the most frustrating finishing problems. Some areas absorb much more stain than others, creating dark patches and uneven color.
This happens because different parts of the wood naturally absorb stain at different rates. Softwoods such as pine are especially prone to blotching, but some hardwoods like maple and cherry can also develop uneven coloring.
With most stains, using a pre-stain wood conditioner helps regulate absorption and produces a more uniform appearance. Applying stain evenly and wiping off excess stain consistently also helps reduce blotchiness. ZAR® Oil-based Stain does not need a wood conditioner. It has controlled penetration that allows the stain to penetrate evenly and can easily be wiped with a cloth for a uniform appearance.
Taking your time during sanding is equally important. Uneven sanding pressure or skipped sanding grits can cause different areas of the wood to absorb stain differently.
Preventing Color Differences Between Two Cans of Stain
Another mistake that surprises many DIYers is using multiple cans of the same stain without mixing them together first.
Even when the labels match, slight manufacturing differences can create subtle color variations between cans. If you switch from one can to another in the middle of a project, those differences may become visible across the finished surface.
The best solution is to “box” the stain before you begin. Simply pour both cans into a larger clean container and stir them thoroughly. This blends any slight color differences and creates one consistent batch for the entire project.
It’s also important to stir stain regularly while working. The pigments naturally settle to the bottom of the can, and failing to stir can lead to color changes as you progress through the project.
Achieving a beautiful stained finish isn’t about luck — it’s about preparation and patience. Proper sanding, choosing the right application method, applying thin and even coats, and taking steps to prevent blotching and color inconsistencies all contribute to professional-looking results.
Whether you’re staining new lumber or refinishing an old piece of furniture, avoiding these common mistakes will help you create a finish that highlights the natural beauty of the wood and stands the test of time.