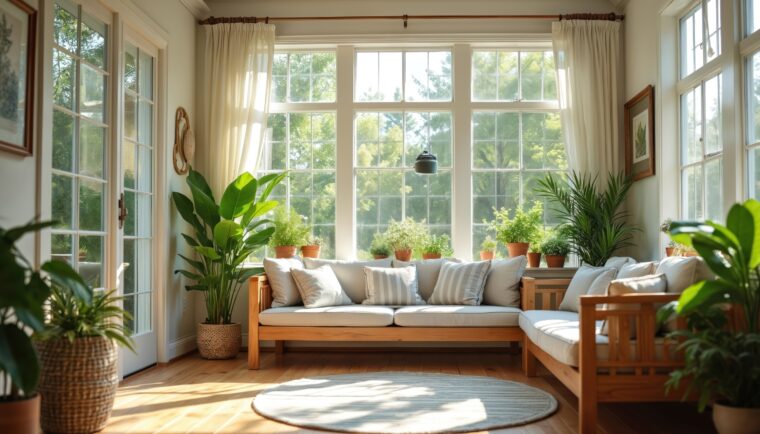
There’s something about summer light — it doesn’t hide anything. It spills across your floors, catches the edge of your trim, and lands squarely on that one piece of woodwork you’ve been meaning to fix for months.
That’s how most interior staining projects begin. Not with a plan, but with a moment.
On a warm afternoon, windows open, air moving just enough to keep things comfortable, you finally decide to tackle it. And if you approach it the right way — with the right products and a little understanding of how wood behaves — you’ll get results that look intentional, not accidental.
This is where using a system like ZAR Premium Finishes changes the experience from trial-and-error to something far more predictable.
Start With the Truth: Wood Doesn’t Need “Moisture” — It Needs Preparation
One of the most common misconceptions is that wood needs to be “moisturized” before staining. It doesn’t.
What wood actually needs is:
- A clean surface
- Proper sanding
- Even porosity
Adding moisture (water or oils) before staining can interfere with absorption and lead to inconsistent color. The goal is not to hydrate the wood — it’s to control how the stain penetrates it.
The Conditioner Question — When It Matters (and When It Doesn’t)
If you’ve ever worked with pine or maple, you’ve probably seen blotchy, uneven stain. That’s why pre-stain conditioners exist.
General rule:
- Soft woods (pine, fir, maple) → typically benefit from conditioner
- Hardwoods (oak, walnut) → usually don’t need it
But here’s where product technology matters.
With ZAR Premium Finishes wood stain, you often don’t need a separate wood conditioner. The formula is designed with controlled penetration, meaning it absorbs more evenly into the wood without the extra step.
That saves time, reduces variables, and helps ensure a consistent finish — especially useful for interior projects where lighting will highlight any imperfections.
If You Skip Conditioner, What’s the Backup Plan?
If you’re not using a built-in solution like ZAR’s controlled penetration formula, alternatives include:
- A light sanding sealer
- Careful, even stain application in thin coats
That said, these are workarounds — not perfect substitutes. Testing on a scrap piece is always the smartest move.
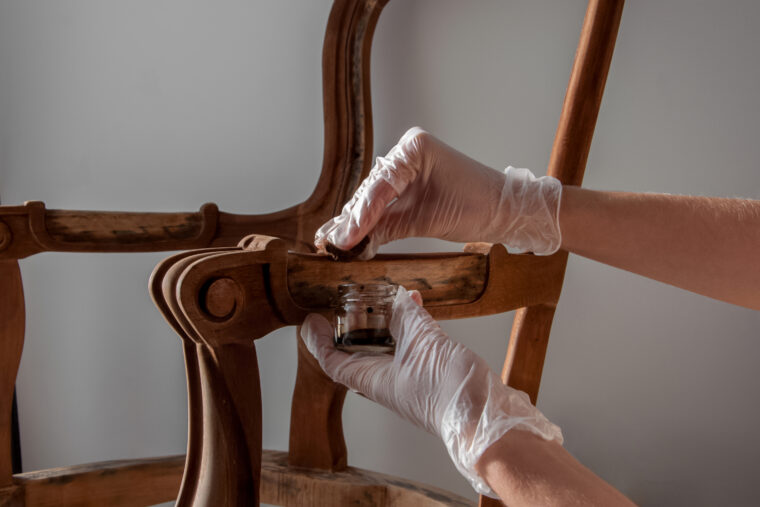
The Step Most People Rush: Wiping the Stain
Application is only half the job.
Once the stain is applied, it needs to sit briefly — then be wiped off. This is where the final color is actually controlled.
- Wipe sooner → lighter tone
- Wait longer → deeper tone
- Don’t wipe → sticky, uneven finish
For interior work, especially in summer when drying times are faster, timing this step correctly makes all the difference.
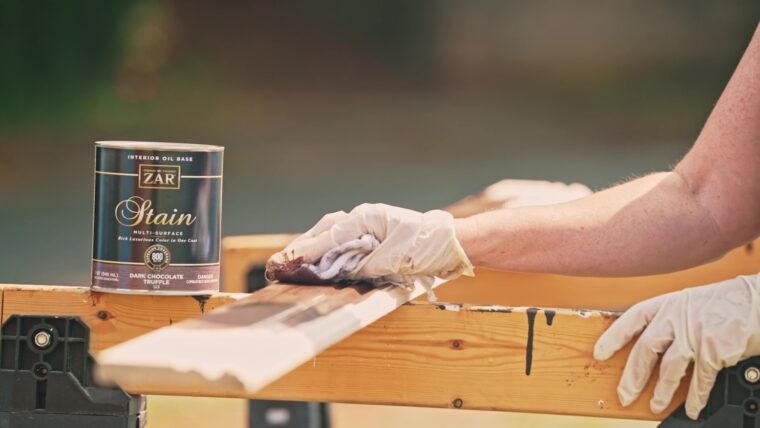
Rag or Brush? Control vs Speed
There’s no single “right” tool — but there is a better choice depending on your goal.
- Rag application gives you more control and a more uniform look
- Brush application covers faster, but can leave more variation
For furniture, trim, and detailed interior surfaces, a rag tends to produce a more refined result — especially when paired with a stain that levels well, like ZAR Premium Finishes.
Will More Coats Make It Darker?
Not in the way most people expect.
Wood stain is not like paint — it doesn’t build up in layers. It penetrates.
- The first coat does most of the work
- Additional coats may deepen tone slightly, but won’t dramatically darken it
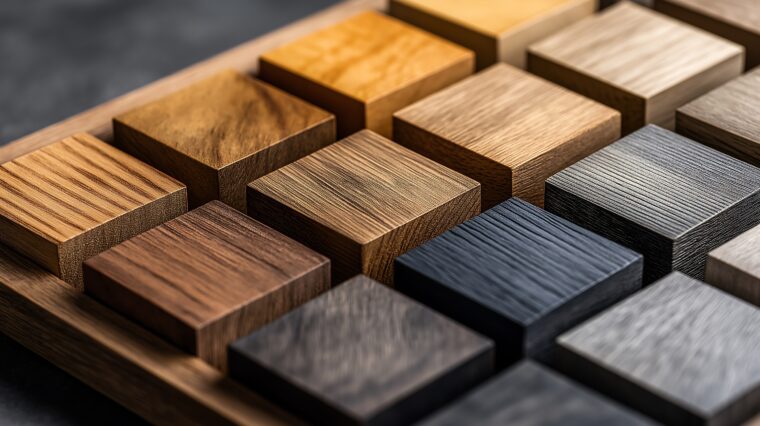
If you want a richer color, you’re better off:
- Choosing a darker stain
- Adjusting how long you leave it before wiping
The Role of Summer Conditions
Summer is actually one of the best times to stain interior wood — if you manage the environment correctly.
- Better airflow = more consistent drying
- Lower indoor humidity (with AC) = fewer curing issues
- Longer daylight = easier to see color accuracy
Just avoid:
- Direct sunlight on the surface
- Excessive heat, which can cause stain to flash dry too quickly

Don’t Skip the Finish: Stain Is Only Half the System
Stain gives wood its color — but it doesn’t protect it.
To lock everything in, you need a clear protective coat like polyurethane.
This step:
- Seals the surface
- Protects against wear and moisture
- Enhances depth and richness
A well-matched system — like pairing stain with a compatible topcoat from ZAR Premium Finishes — ensures the finish looks as good months from now as it does the day you apply it.
The Difference Between Guessing and Knowing
By the time the project is finished, something becomes clear:
The difference between a blotchy, frustrating result and a smooth, professional one isn’t luck — it’s understanding how each step works together.
- Prep controls absorption
- Product choice affects consistency
- Application technique defines the final look
- Protection determines longevity
Summer just gives you the conditions to do it all a little better.
And when everything lines up — the light, the airflow, the right stain — you don’t just improve the wood.
You notice it again.