
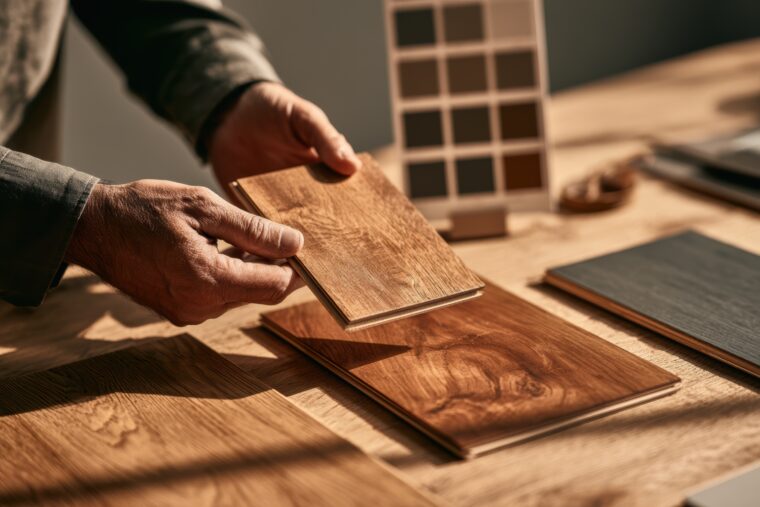
Matching wood stain colors in an older home can be surprisingly difficult. You may have a beautiful hardwood floor, staircase, door, trim, or built-in cabinet that has been in the house for decades. Then a piece of wood needs to be replaced, and suddenly the new piece looks completely different from everything around it.
The problem isn’t necessarily that you chose the wrong stain.
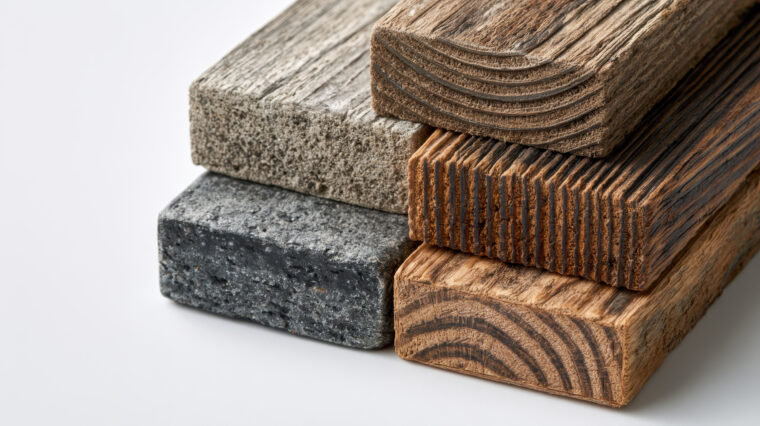
Old wood changes color over time.
Sunlight, aging, oxidation, previous finishes, cleaning, wear, and decades of exposure can all change the appearance of wood. A stain that originally looked one way may look significantly different many years later.
That’s why matching existing wood often requires more than finding the closest color on a stain chart.
The goal is to create a finished piece that blends naturally with the existing wood.
Products such as ZAR Premium Wood Stains can be especially useful for these projects because ZAR offers a range of wood stain colors as well as tinting and color-blending options that allow you to move beyond a single off-the-shelf color.
Why Is Matching Wood Stain So Difficult?
If you’re trying to match a new piece of wood to an existing piece, there are several variables working against you.
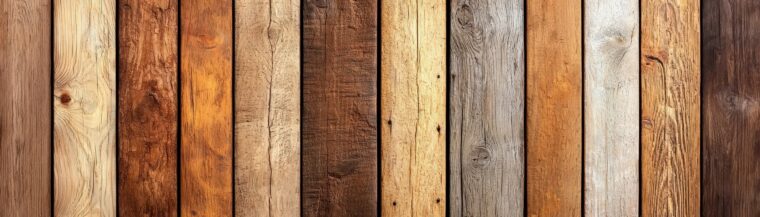
Wood species, grain, age, sanding, stain penetration, previous finishes, and lighting can all affect the final color.
Even two pieces of the same species can produce different results.
For example, new red oak may absorb stain differently than 50-year-old red oak. A newly installed oak floor may have a lighter, brighter appearance than the original flooring surrounding it, even when exactly the same stain is used.
This is why matching stain to existing wood is not simply a matter of matching a color name.
You’re matching the appearance of the entire finished surface.
Does Old Wood Fade or Get Darker?
It can do either, depending on the wood, finish, exposure, and conditions.
Sunlight can fade or change the color of wood and its finish. Older finishes can also yellow or amber with age. Areas that have been protected from light may look considerably different from areas that have been exposed to sunlight for decades.
Consider an old hardwood floor.
The section underneath a large rug may look completely different from the flooring beside a sunny window. A new replacement board will have none of that history.
This is one of the most important things to remember when matching new wood to old wood:
You’re usually matching today’s appearance of the old wood — not necessarily the stain color that was originally applied.
That distinction can make a major difference in your approach.

How Accurate Is Wood Stain Color Matching at a Store?
Professional color-matching equipment can be extremely helpful, but homeowners should understand its limitations.
Wood stain is different from paint.
Paint is designed to create an opaque, consistent color on a surface. Wood stain interacts with the wood itself, allowing the natural grain and color of the wood to influence the finished result.
A stain color that matches beautifully on an oak sample may not produce the same result on maple or pine.
Even within the same species, different pieces of wood can absorb stain differently.
Therefore, a store’s color match should be considered a starting point rather than a guarantee of a perfect match.
The best results come from combining professional color matching with an actual sample of the wood and careful testing.
Where Can You Get Wood Stain Color Matching?
The availability of custom stain matching varies by retailer and location, so it’s a good idea to contact the store before taking your project sample in.
Paint stores like Sherwin-Williams, Benjamin Moore and ACE are your best bet for color-matching and some independent paint outlets. Paint stores have the equipment and the professional expertise to work with you on custom matching.

Find a ZAR Dealer
ZAR Retailers
If you’re specifically looking for ZAR Premium Wood Stains, ask a participating ZAR retailer about its stain colors and custom tinting options.
ZAR offers tintable products and has a Color Matcher system designed to help recreate or coordinate colors. Its Interior Oil Base Stain can also be mixed to create custom colors.
This makes ZAR a particularly useful option when a standard stain color gets you close but doesn’t quite match the existing wood.
When checking a store’s capabilities, as “Can you custom match or tint an interior wood stain to an existing finished piece of wood?”, asking this specific question can save you a trip to multiple stores.

What Should You Bring to the Store for a Stain Color Match?
The best thing you can bring is an actual piece of the wood you’re trying to match.
A photograph is helpful, but a physical sample is much better.
If possible, bring:
- A piece of existing flooring
- A removable piece of trim
- A sample of an existing door or cabinet
- A piece of the original wood
- An offcut from the existing material
- A sample that includes the existing finish
If you’re trying to match a finished piece of wood, don’t automatically sand the finish off before taking the sample to the store.
The existing finish may be part of the color you’re trying to reproduce.
Bring Multiple Samples When the Color Varies
Older homes often have inconsistent color throughout a room.
If possible, bring samples from different areas.
For example, take one sample from near a window and another from an area that has been covered or protected. This can help you determine whether you’re dealing with fading, aging, or simply different pieces of wood.
Bring Pictures of the Wood in Your Home
Lighting makes a tremendous difference.
A piece of wood can look one color under a store’s lighting and another color under natural daylight in your home.
Take several pictures of the existing wood:
- In natural daylight
- Away from direct sunlight
- Beside the new wood
- From several angles
- With surrounding trim or flooring visible
The pictures don’t replace a physical sample, but they give the person matching the stain useful context.
How to Blend Wood Stain Colors
Sometimes the best way to match existing wood is not to find one stain color.
It’s to blend two or more colors.
Older wood frequently contains multiple tones. You may see brown mixed with amber, red, gold, or other undertones.
A single stain may get you close without quite reproducing the appearance.
Blending colors gives you more control.
Start With Small Test Batches
Never mix a large quantity of stain when you’re experimenting.
Start with small amounts and record the ratios.
For example, you might test:
- A base brown stain by itself
- A brown stain with a small amount of a warmer color
- A 50/50 combination
- A slightly darker variation
- A lighter variation
Write down every formula.
Once you find the combination that works, you can reproduce it accurately. An eye dropper is a useful tool to keep track of what you adding.
Why ZAR Premium Wood Stains Are Useful for Color Blending
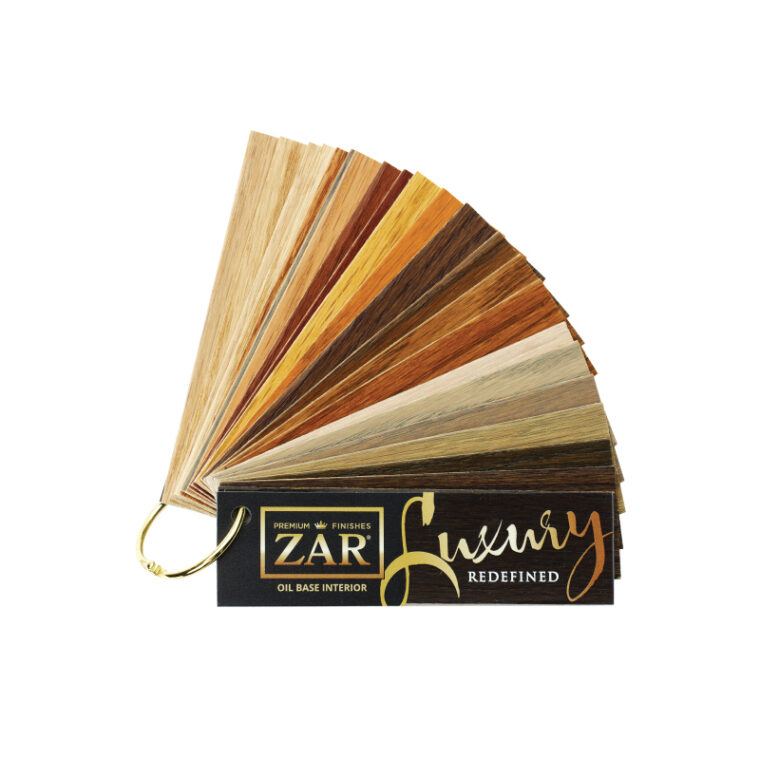
ZAR Premium Wood Stains are worth considering when you’re working on an older-home refinishing project where an off-the-shelf stain isn’t quite right.
ZAR offers a wide selection of wood stain colors, and its Interior Oil Base Stain can be mixed to create custom colors. ZAR also offers tintable Color Matcher options through participating retailers.
That means you don’t necessarily have to settle for:
“This is the closest color we have.”
You can work toward a color that is specifically suited to the wood you’re trying to match.
ZAR stains can also be used for applications beyond simply staining bare wood, including color toning, glazing, and decorative finishing techniques. That flexibility can be useful when you’re trying to blend a new repair into an existing finish rather than completely refinish an entire room.
For homeowners restoring older houses, this can be a significant advantage.
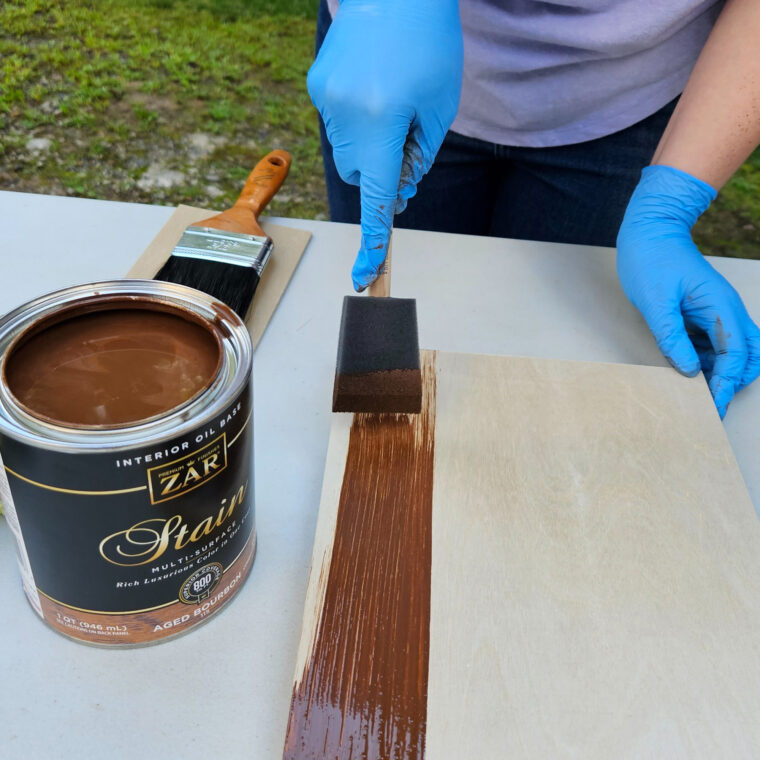
Always Test the Stain on the Same Type of Wood
One of the biggest mistakes in wood stain color matching is testing the stain on the wrong wood.
If your new flooring is red oak, test on red oak.
If your replacement trim is pine, test on pine.
If you’re matching maple, test on maple.
The wood itself is part of the color.
The same ZAR stain can look noticeably different depending on the species, grain, and condition of the wood.
For the most accurate result, use an offcut from the actual material being installed.
Match the Sanding Process Too
Your stain test should replicate the actual project.
If you’re sanding the finished project to a particular grit, sand the test piece the same way.
Why?
Because sanding affects how the wood absorbs stain.
A more heavily sanded surface may absorb stain differently from a rougher surface. If your sample preparation doesn’t match the actual project, the test color may not accurately predict the final result.
Don’t Forget the Existing Finish
The stain isn’t necessarily the only reason old wood looks the way it does.
The existing clear finish may have changed over the years.
A new piece with the correct stain can still look wrong if it receives a different type of topcoat from the existing wood.
When testing your stain, apply the same type of finish you plan to use on the actual project.
Judge the final color only after the complete finishing system has dried.
How to Match New Wood to Old Wood
When you’re replacing one piece of wood in an older home, your goal isn’t necessarily to make the new wood identical to the old wood at close range.
Your goal is to make it blend into the room.
This may require adjusting the stain on the new wood because the old wood has changed over time.
You might need to:
- Use a warmer color
- Add a small amount of a darker stain
- Add a reddish or amber undertone
- Apply more than one stain color
- Adjust the application time
- Apply a second coat
- Use a toning or glazing technique
- Adjust the clear finish
There is no universal formula because every piece of wood and every old-home project is different.
Should You Refinish All the Wood?
Not necessarily.
If most of the existing wood looks good, completely stripping and refinishing an entire room just because one board needs to be replaced may be unnecessary.
In many cases, you can concentrate on making the replacement piece blend with the existing finish.
This is especially useful with historic homes where preserving the character of the original wood is part of the appeal.
For example, you may be able to repair and color-match:
- One damaged floorboard
- A section of staircase
- A replacement door
- New baseboard
Common Wood Stain Matching Mistakes
Choosing a Stain Based Only on Its Name
Names such as “Walnut,” “Cherry,” or “Dark Oak” aren’t universal color standards.
Always test.
Matching From a Photograph
Photos are affected by lighting, cameras, and screens.
Use a physical sample whenever possible.
Ignoring Wood Species
The same stain can look dramatically different on different species.
Assuming the Old Wood Hasn’t Changed
A 50- or 100-year-old piece of wood may look very different from when it was originally installed.
Skipping the Test Board
Never assume that a stain will look the same on your project simply because it looks right on a color chart.
Forgetting the Topcoat
The clear finish can change the final appearance.
A Simple Process for Matching Existing Wood Stain
If you’re tackling an old-home refinishing project, this process can help:
1. Identify the wood species.
Determine what you’re matching and what species the replacement piece is.
2. Obtain a physical sample.
Use a piece of the actual existing wood whenever possible.
3. Examine the existing color.
Look at the wood in different lighting and locations.
4. Find several potential stain colors.
Don’t assume the first close match is the best match.
5. Consider blending colors.
If one color doesn’t work, experiment with two or more.
6. Test on the actual wood species.
Use an offcut whenever possible.
7. Apply the complete finishing system.
Include the clear coat or topcoat.
8. Compare the sample beside the existing wood.
Don’t judge the color by itself.
9. Adjust the formula.
Make small changes until the new piece blends naturally.
10. Record the final formula.
Write down the stain colors, ratios, coats, application times, and finish used.
That last step is particularly important. If you ever need to repair another section of the house, you’ll have a starting point instead of having to reinvent the color.
Final Thoughts on Matching Wood Stain in Older Homes
Learning how to match wood stain colors is less about finding a magic stain and more about understanding why wood looks the way it does.
Old wood has a history.
It has been exposed to sunlight. It has aged. It may have been cleaned, sanded, refinished, or coated with different finishes over the years. Some sections may have faded while others have darkened.
A new piece of wood doesn’t have that history.
That’s why a stain that looks perfect on a color chart may still look wrong when placed beside an old floor or piece of trim.
The best approach is to start with a physical sample, test on the actual wood species, consider blending stain colors, and evaluate the complete finished surface.
For projects where a standard stain isn’t quite right, ZAR Premium Wood Stains provide a particularly useful range of colors and customization possibilities. ZAR’s tintable and blendable options make it possible to adjust the color rather than simply accepting the closest off-the-shelf option.