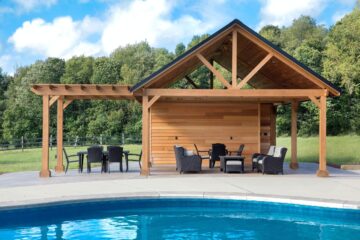
With the cost of wood today, refinishing your deck and wood siding makes more sense than purchasing new lumber. Besides, applying a new stain is a great DIY weekend project, and it will add years of life to your wood, making it more weatherproof and durable.
However, there are some preliminary steps that need to be observed to get professional results, and this article will explain the process step-by-step.
Step 1 — Prepare the Area for Staining
Before starting, collect the tools you will need:
Deck cleaner
Deck brush
Safety glasses
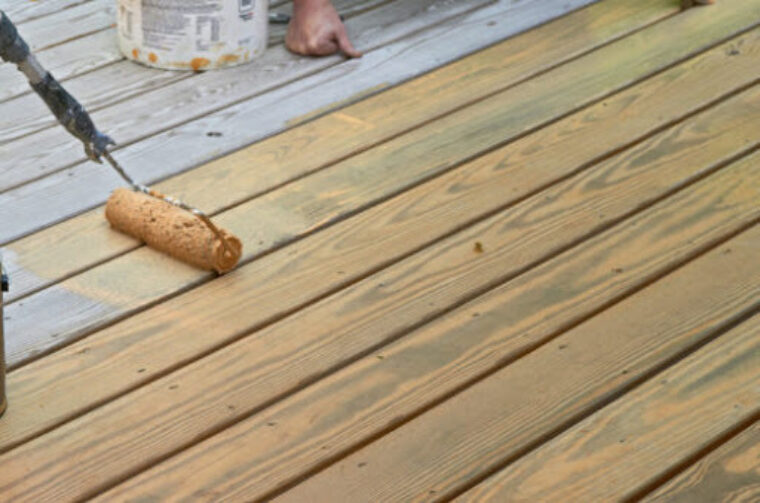
Roller frame and roller sleeves
Assorted brushes for either oil or water-based stains/sealers
Drill/screwdriver and screws or nails to secure loose deck boards or siding
Power washer (if needed)
High quality deck stain
You also need to complete the following before beginning:
Check the weather. You’ll want 24 hours without rain, 48 if possible.
Remove all furniture and rugs from the deck. If you stain the siding, shutters and any other objects that can be easily removed should be taken down.
Do a visual inspection to see what needs to be replaced or reattached.
Scrubbing
Scrubbing is the first step to take when preparing to stain a deck or wood siding. It opens the wood fibers so that the stain will penetrate the surface properly. Make sure you use a product made for wood. Some products may ruin the finish and make it impossible for the wood to accept the new stain.

Follow the instructions on the bottle, but the normal application requires a 15-minute wait time after application, before removing the cleanser with a deck brush or power washer. Wait a minimum of 24 hours to dry before applying stain or sealer.
Power Washer

Be sure to follow the instructions on the power washer to ensure that you don’t damage the wood with a high-pressure spray. For pine or cedar, 500 – 600 psi is the recommended pressure setting. Harder woods may use 1200 – 1500 psi.
The key is to use a sweeping motion along the grain of the wood, and keep the wand moving so it doesn’t dig a hole. Use a wide setting on the spray nozzle and hold it about 12 inches from the surface. Be consistent in your motions to prevent lap marks. Once completed, allow the wood to dry at least 24 hours.
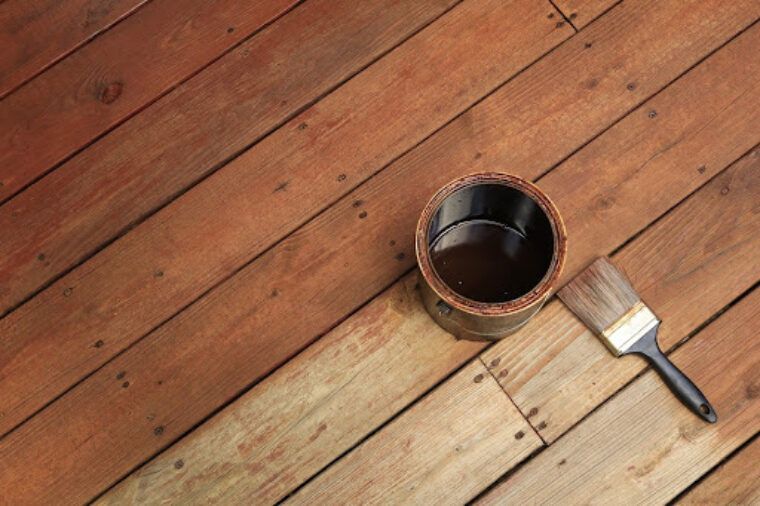
Step 2 — Selecting the Right Stain
Don’t decide which stain to apply until the wood has been scrubbed and cleaned. A high-quality cleaner with wood brightener can make an old deck or siding look new. If you decide to stain after this process, choose an inconspicuous area to test first to make sure you like the color selected.

Sealer
Sealers add a minimal amount of color to wood because there is very little pigment in them. Instead, they are intended to bring out the wood’s original beauty and restore the finish.

There are a couple of advantages of using a sealer over a stain:
It is simpler to control the finish color.
It goes on in a uniform manner, instead of soaking into the wood grain unevenly.
Sealer is the right solution when the underlying wood is in good condition and is aesthetically pleasing in its natural color.
Semi-transparent
Semi-transparent stains contain more pigment than toners and are a good solution when trying to hide minor defects in the deck or siding while allowing the natural wood color to come through.
Solid Color
Solid color wood stains provide a rich, opaque color that allows the texture of the wood to show. They accentuate the wood’s texture, are self-priming and compared to other types of finishes, they provide high protection for your surface.

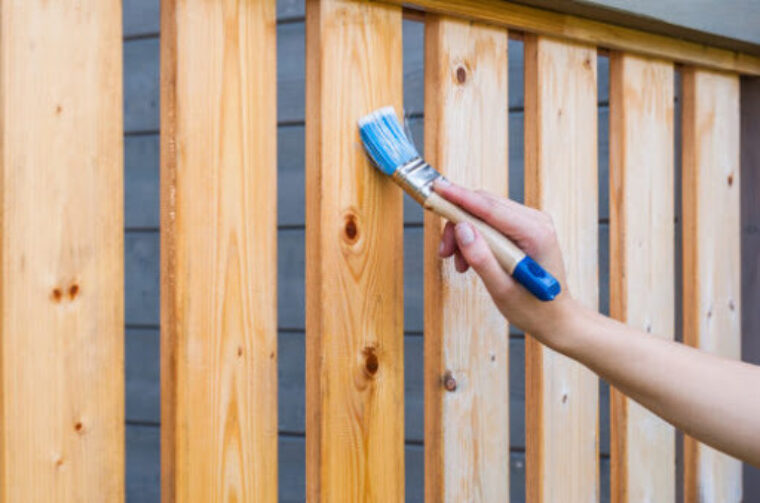
Step 3 — Read Instructions Carefully Regarding How Many Coats to Apply

When it comes to wood stains and sealers, be sure to follow the directions on the can carefully. More isn’t always better. When you apply too much, the stain will not cure correctly and can result in a poorly performing finish.
Step 4 — Calculate How Much Product is Needed Based on Square Footage
Calculating the square footage is a simple process for square or rectangular-shaped decks and walls. Multiply the length of one side by the length of the other side to obtain your answer. As a general rule, you can subtract 20 square feet for each door and window from your total because you will use a different type of paint or a different color for these items. Coverage calculators are helpful to determine the amount of product you’ll need for your project.

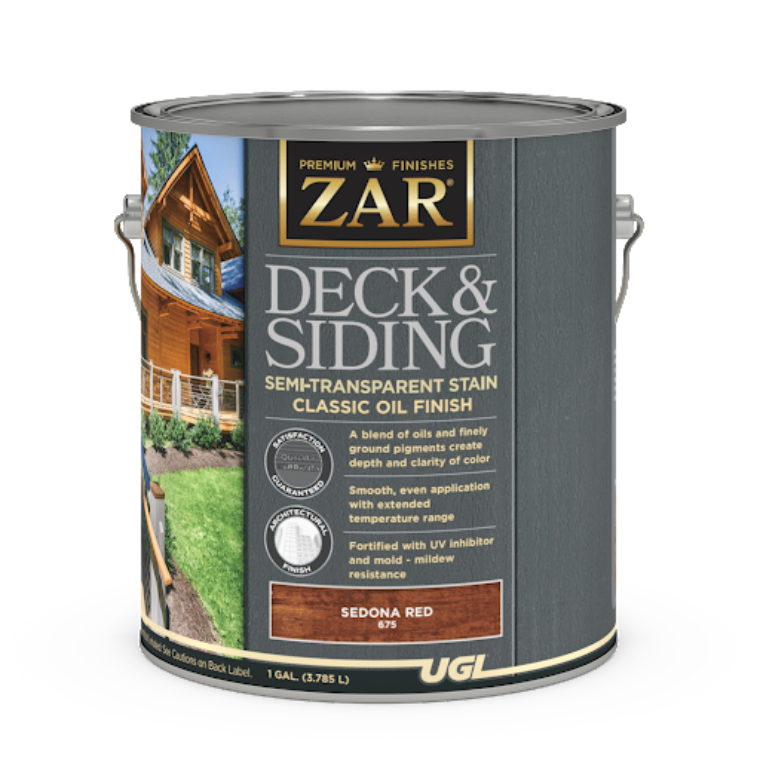
Trust in ZAR® For All of Your Exterior Wood Staining Needs
Choosing the right exterior stain is important to protect your deck or siding. ZAR solid color stains are easy to apply and provide superior protection against weathering, fading and mildew.
With a wide variety of colors available, you’re sure to find the perfect match for your home. Trust ZAR products to give you lasting results that will keep your home looking beautiful for years to come. Contact us today to locate a retailer near you.